


Then wrap your main yarn around your fingers, making sure not to wrap it too tight. What You Need For This Method:Ĭut a short length of yarn and place it in between your fingers (index and middle for a two or three finger pom and between your middle and ring for a four finger pom). This may vary a bit depending on the size of your fingers and how much you trim your pom pom down. And four fingers will get you about a 2” pom. Two fingers will give you a pom pom about 1.25” wide. This method is great because it requires the least amount of supplies and you can also get three different size poms depending on how many fingers you use to wrap the yarn around.
Pompom diy how to#
How to make a Fork Pom Pom | Crafting Basics Method 2: Using Your Fingers If you’d like to read my original article that goes into more detail on how to use this method, click on the link below: Lastly, trim and shape the pom pom until it’s how you like it. Slide everything off the fork and tighten the small piece of yarn as much as you can. Bring the small yarn piece forward and tie it loosely around your bundle. Then wrap another length of yarn around your fork about 50 times.

Start by cutting a small piece of yarn and put it between the tines of your fork. As long as you’re counting the number of times you wrap your yarn, you end up with nice, uniform pom poms that can be made in just a few short minutes. This method is useful if you need very small pom poms about 1 inch wide, though this may vary depending on the width of your fork and how much you trim your pom pom down. DIY Pom Pom MethodsĦ: Using a Pom Pom Maker Method 1: Using a Fork After using them for awhile now, I wouldn’t make pom poms without them. If you are finding yourself having any trouble with your current pair of scissors, I’d definitely suggest checking these out. And the added springs are so helpful when it comes time to trim everything up. The straight pointed tips are great for snipping the loops of the pom pom. For any of these DIY pom pom methods, you can use any type of standard scissors you have on hand, but I would HIGHLY recommend these ones when making any kind of pom poms.
.jpg "pompom diy")
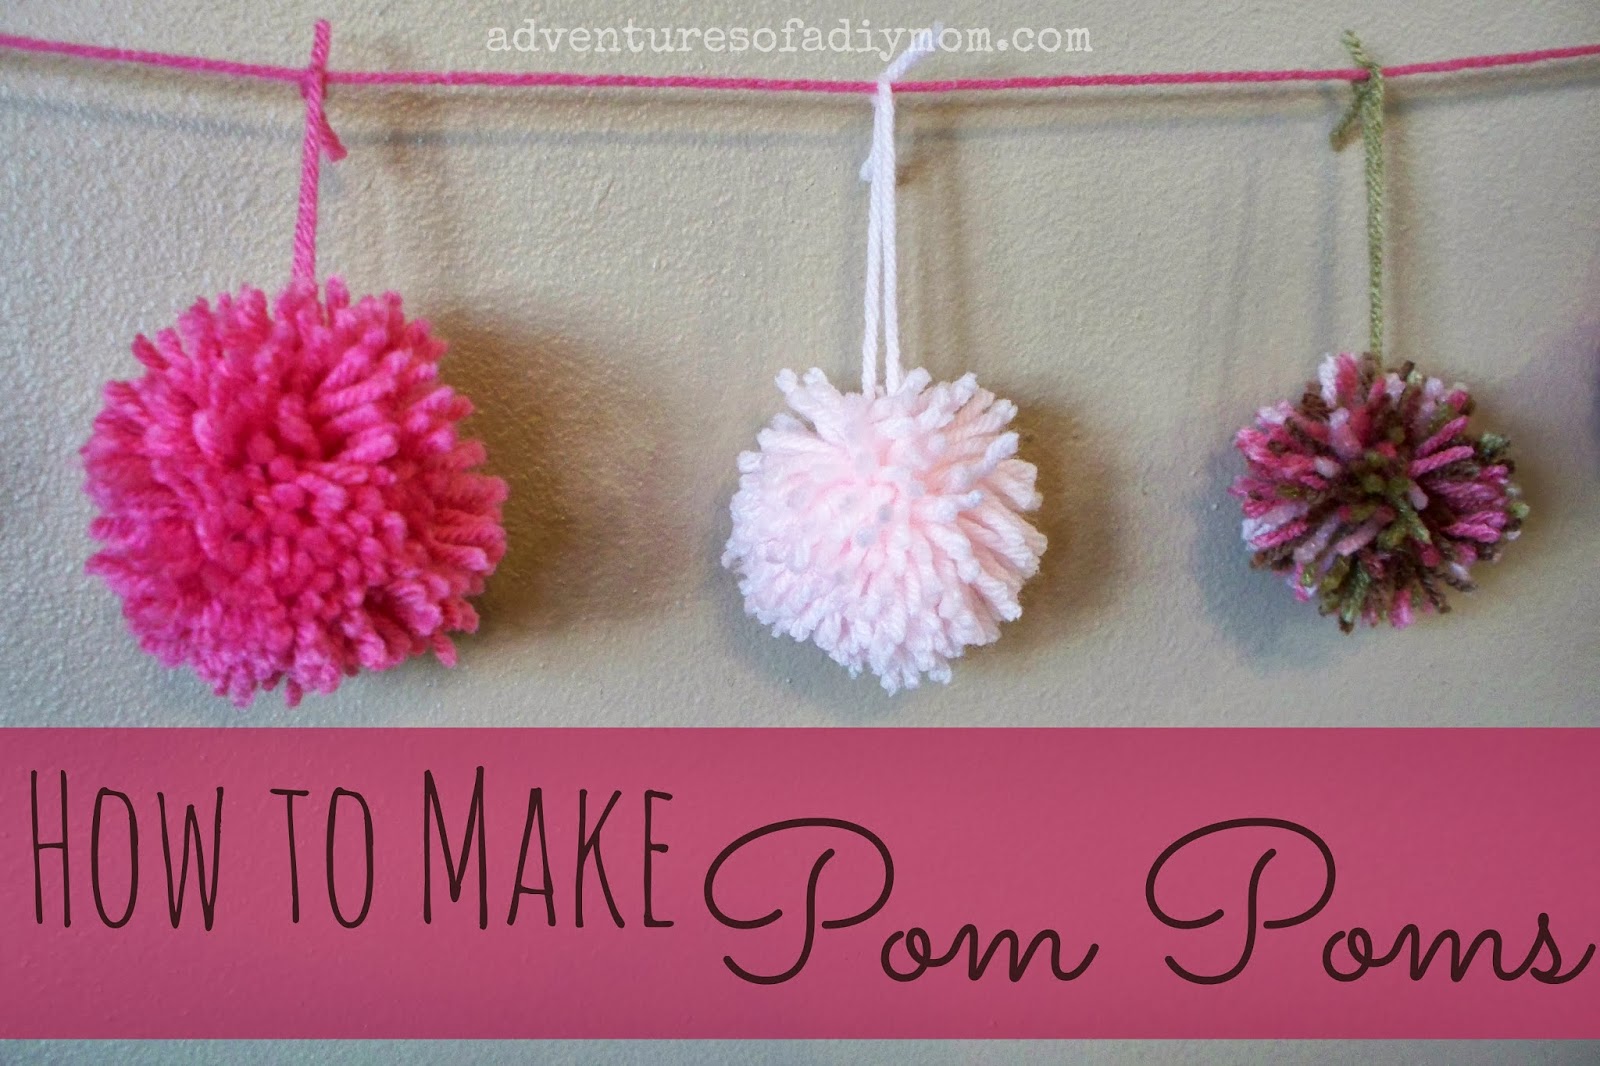
For more information, please see my Disclosure.īefore we begin, I want to talk about scissors for a minute, because besides yarn that is something that is needed for every one of these methods. Note: This post may contain affiliate links, which means that if you click on a link and make a purchase, I may earn a small commission at no extra cost to you. However, under each method I will link to the original article that covers each one in further detail and with additional pictures. Since this article is a compilation of all the different DIY pom pom methods I’ve covered before, I’m only going to give very brief instructions on each one. I’ve saved my favorite method for last, but the rest are listed in no particular order. Most of them only require materials that you probably have on hand already, and all of them are super easy. In this article, I’ve compiled six different methods you can use to make your own DIY pom poms. In those situations, a DIY pom pom is just what you need. And while it can be easiest to buy them already pre-made, sometimes you need a very particular size or color for your project to be just perfect. They are such an amazingly versatile component that can be used in so many crafting projects, both as an embellishment or as the main attraction.
 0 kommentar(er)
